

The smell of a freshly-baked bread lingers from my childhood days. But my true love for bread started after my marriage. Every Sunday breakfast without second thoughts was “Bread”. This gave me a day off from the breakfast-making ceremony. One day causally I went through the list of the ingredients used for baking bread. I had a heavy heart to see the preservatives and emulsifiers being used. Of course, the bakers had to add these ingredients to increase the shelf life of the bread to prevent it from becoming unfit for consumption. I also realized that although the shopkeeper claimed the bread to be whole wheat bread, it still had a great amount of refined flour to it. As per Ayurveda, maida or refined flour is not healthy and of course, we all at home are trying to refrain from using it.
So, one day I picked up this book about baking your own bread. And thus my journey of baking breads began. Bread baking initially was a lengthy process. I would lose an entire day to it and all of it in vain. Every time I baked one, it would turn out to be dense, or it would be heavy, or would not rise and at times it would all crumble down when cut. But hats off to my family who supported me every weekend and allowed me to again try a new recipe. I never gave up, and finally I was successful.
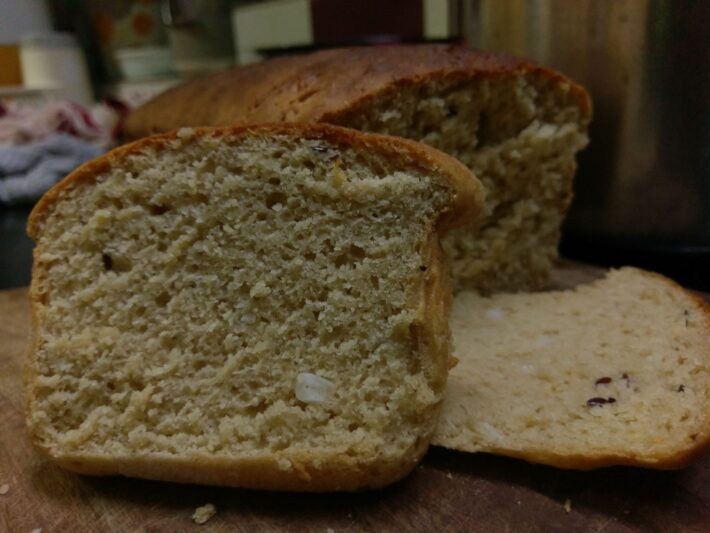
After a lot of trials and errors, here I am with a recipe which works perfectly for humid climates and is ready in less than 2 hours. You don’t need to spend a lot of time trying. I am happy to share my recipe and can vouch that it will work. I am sure you will love the bread and definitely gorge on this one.

Foolproof whole wheat bread
Equipment
- Oven Toaster Grill (OTG)
- Bread pan
- Bowl
- Tablespoon
- Teaspoon
- Measuring Cup
- Mixer + Medium Mixer Jar
- Aluminium foil
Ingredients
- 3 Cups Whole wheat flour (Atta)
- 1½ Cups Milk (Whole or skimmed milk or water)
- 2 Tbsp Cornflour (optional)
- 2 Tbsp Sugar (or Honey)
- 2 tsp Yeast (Instant or Active dry)
- 1 tsp Salt
- 2 Tbsp Oil (Olive or any vegetable oil)
Instructions
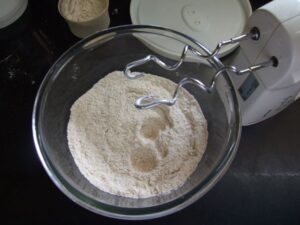
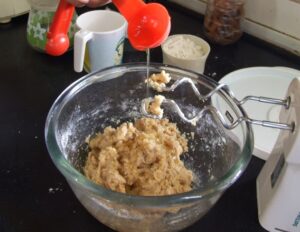
- In a medium sized mixie jar add flour, cornflour, sugar (if you are using honey then add it only after milk), salt, yeast. Run the machine for 10 seconds. Repeat this 4 times. ORIf you do not have mixie, directly take the above ingredients into a mixing bowl and mix it well.
- Empty the ingredients into a mixing bowl (Oven or Microwave safe).
- Preheat the oven at 100° C for 10 minutes.
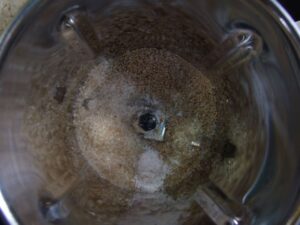
- Heat the milk. It should be quite warm to the touch, about 55° C.
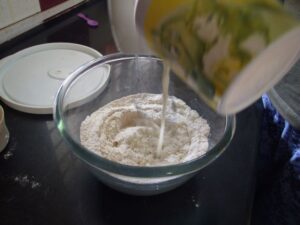
- Slowly add the milk to the bowl and begin kneading the dough. It will be sticky initially but do not worry. (If using honey, add it now.)
- Add the egg and continue to knead. (If you do not want to add egg then add 4 tbsp warm milk)

- Finally add the oil and knead the dough till it all comes together, take about 4 minutes.
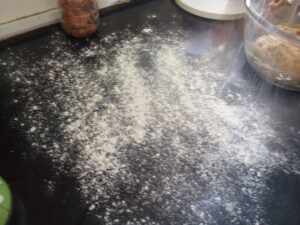
- Sprinkle flour on a clean flat surface. Empty the dough onto this dusted surface.
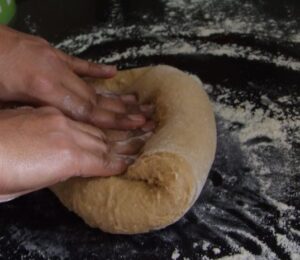
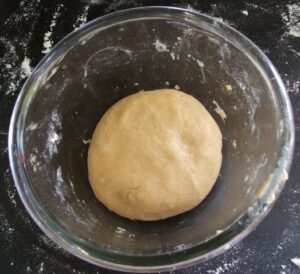
- Apply bit of oil on the hands. Now fold the dough from right to the left and then from the left to the right (like folding an envelope). Keep repeating this about 45 times. If the dough is too sticky sprinkle some more flour over it (not too much). Now make a ball from the dough.
- Grease the mixing bowl (Oven or Microwave safe) with a little oil. Place the dough ball into this bowl.
- Turn off the oven and put the bowl in it. The oven will provide the warm environment for the dough. Keep an alarm for 10 min.
- After 10 min remove the bowl from oven. Turn the oven on again with temperature set to 100° C.
- Sprinkle flour again on the flat surface. Empty the dough onto it.
- Press the dough to spread it gently into a rectangular shape. Be gentle during this process.

- Now roll out the dough to form a log. Put this loaf into the bread pan. (I generally cover my bread pan with aluminum foil)

- Turn off oven and then put the bread pan into the oven. Keep an alarm for 35 min. This step is called proofing.
- After 35 min remove the bread pan, check if the dough has risen about an inch above the pan level. If not keep it for some more time.

- Remove the bread pan and then preheat oven to 175° C. Place the bread pan into the oven and bake for 20 min.
- Remove the pan and cover it with an aluminum foil. Put is back in the oven and bake for further 15 min.
- After its done, remove the bread and turn it onto a cooling rack. Apply butter to give it a glazed look and good flavor too.
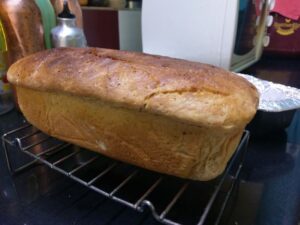
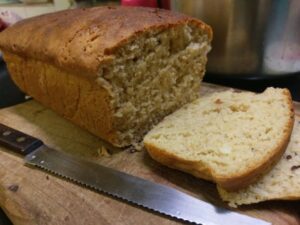
- Wait for 10 min before you slice it. Use a serrated knife to slice. Sit down and enjoy the warm bread. It stays good for up to two days outside and up to 5 days in the fridge. (Mine finishes the same day!!)
Notes
Similar Posts
-
A Slice of Memory: My Beloved Carrot Cake Story and Recipe – Hard Core
The first time I had carrot cake was shortly after I got married. It wasn’t from a fancy bakery or a
-
Allan’s stilton cookies – Hard Core
Visits to malls and looking at those chocolate cookies were quite irresistible. As a family, we are
-
Whole wheat Chocolate Brownie – Hard Core
Brownie Love, the Healthy Way 🍫💚 If there’s one dessert, I’ve never been able to resist, it’s the go
-
Chechi’s Foolproof whole wheat chocolate cake – Hard Core
A Chocolatey Tale: From Struggle to Sweet Success 🍫🎂 My search for the perfect chocolate cake was no
-
Authentic Mysore pak (sweet) recipe – Raji’s
Did you know that Mysore pak got its names because of Krishnaraja Wadiyar IV king from Mysore who wa


Bhuddu
With out tasting ,by seeing itself I can say the recipe is Yummy. Thank you for shared the details of recipe making, which will be very useful for people who are buying outside bakery breads.
Far
Wish the image could capture the heavenly aroma
Far
I followed the recipe exactly and was really happy with the results! The bread tastes even better than it looks 🙂
Hard core
I’m thrilled that you tried it out! Feel free to adjust sugar too.
Varsha Paralikar
Hey what a receipe..very neat step by step description. Will surely try 👍
Hard core
Try and share your feedback too!
Ravuri Vinod Kumar
Superrr
Deepti
WoW 🤩. Thank you so much for this yummy and healthy recipe. Without trying I know , it’s going to come out perfect. Beautiful description of your journey of baking healthy bread. And your patience is commendable. Hats off to you. Thank you once again for this amazing recipe.
Leena Dhakad
Thank you for this recipe. I’m definitely going to try it.
Anila Viswambharan
Lovely and simple recipe !